![IO.NET [ Formerly ANTBIT ]](https://files.readme.io/ae596fc-IO_DOCS_.svg)
Installing on Windows
A step by step process for setting up the environment for io.net on Windows-based machines.
Please refer to Docker Installation on Windows for instructions on installing docker on Windows-based machines.

Go to cloud.io.net
If you have not yet created an account, Creating an account on io.net is currently available only through Google or Twitter. Simply click on the "Sign Up" button and select either Google or Twitter to proceed with account creation.
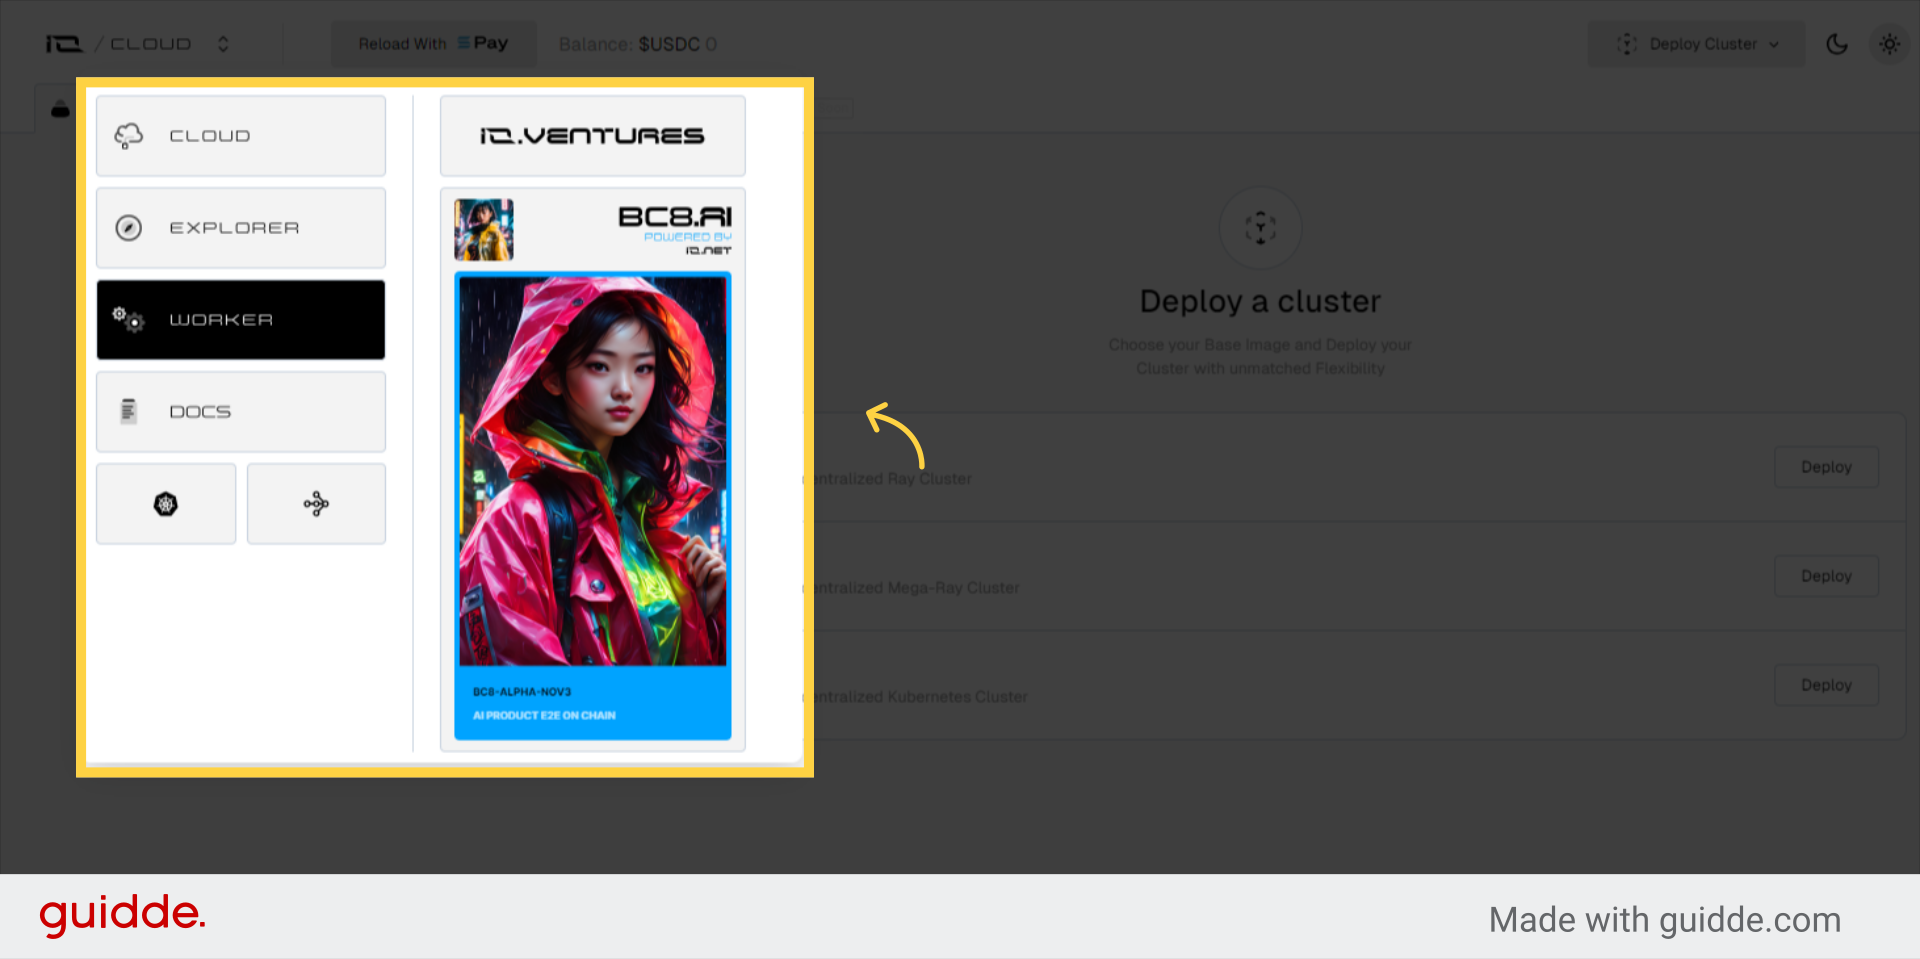
1. From Dropdown Navigate to worker
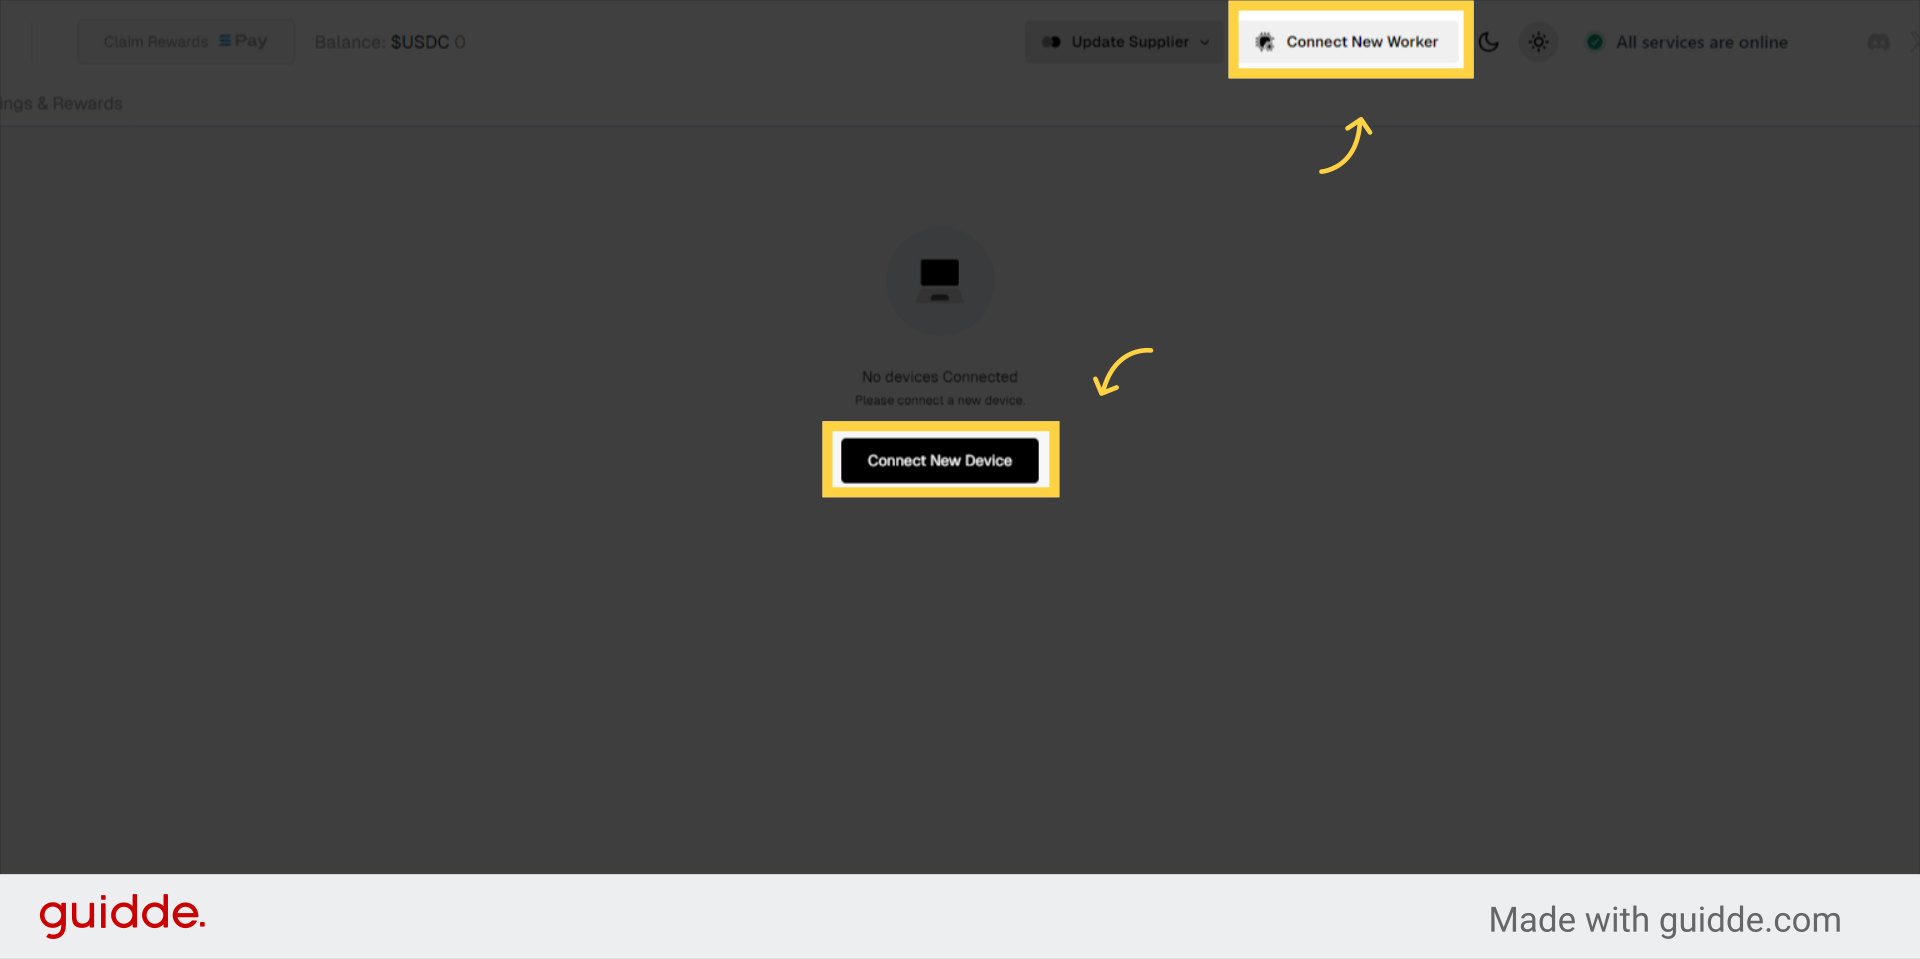
2. Connect New Worker
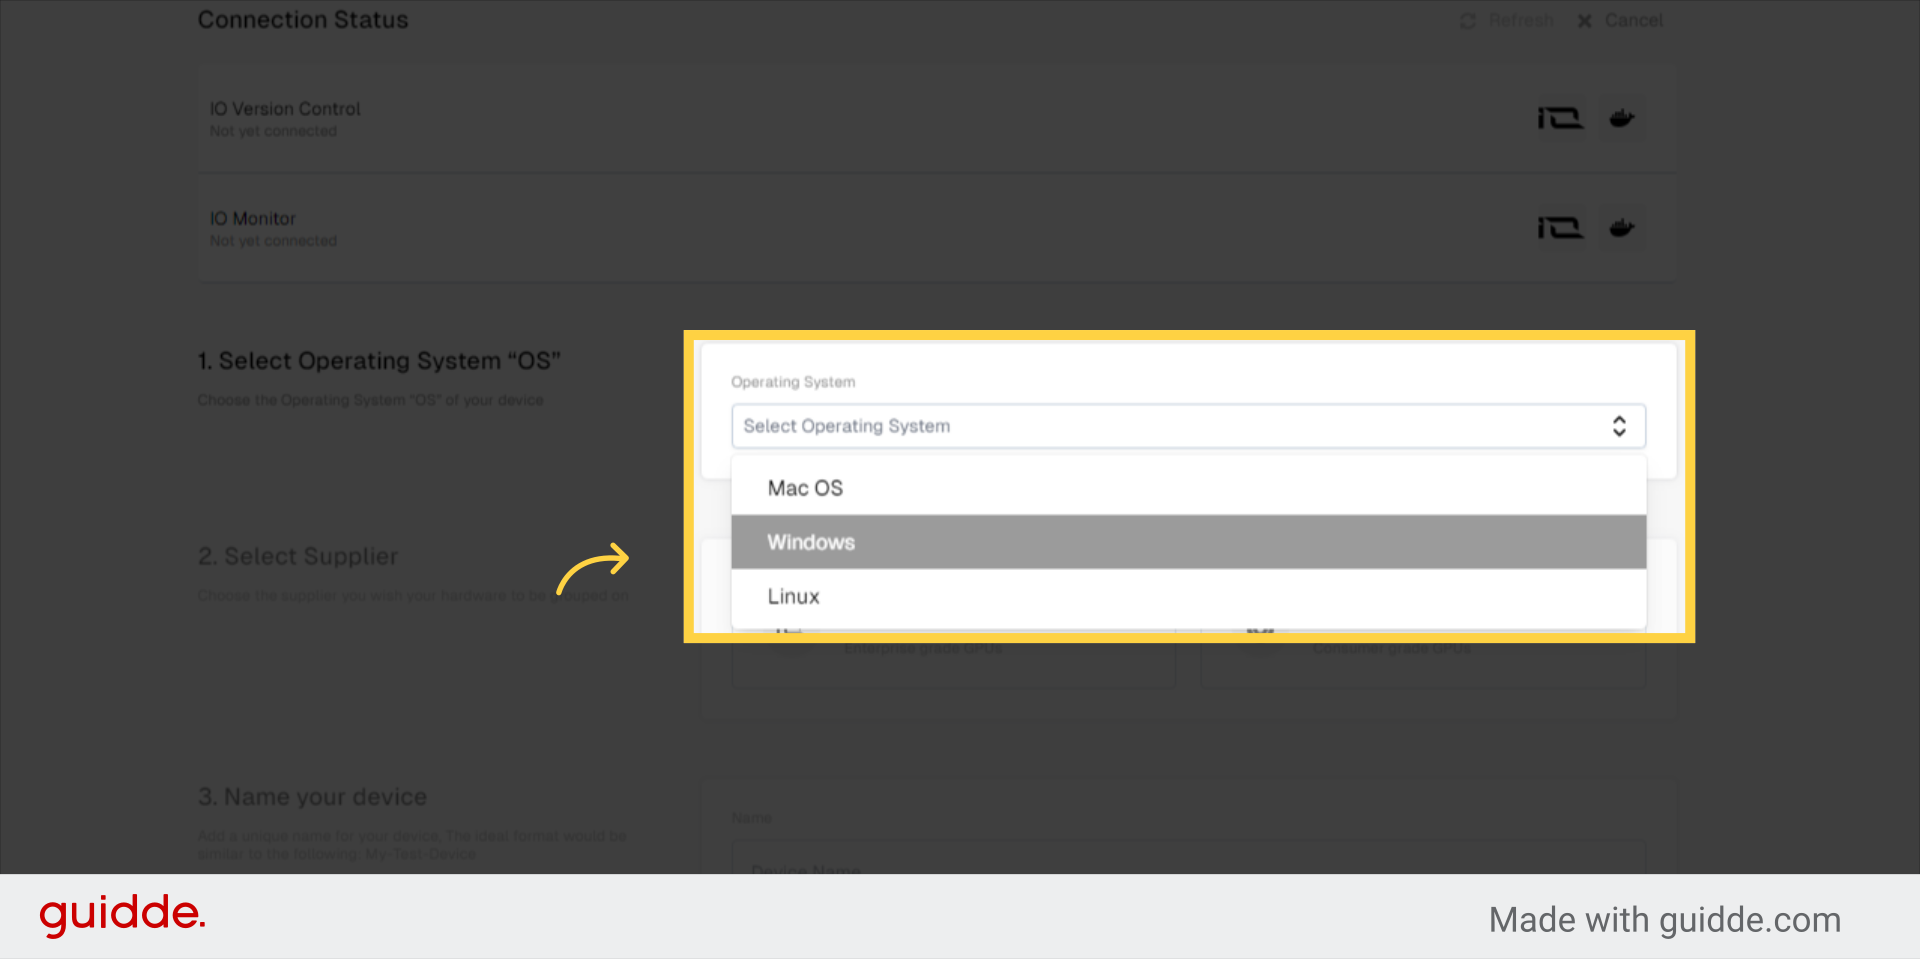
3. Select Operating System “OS”
Choose the Operating System “OS” of your device
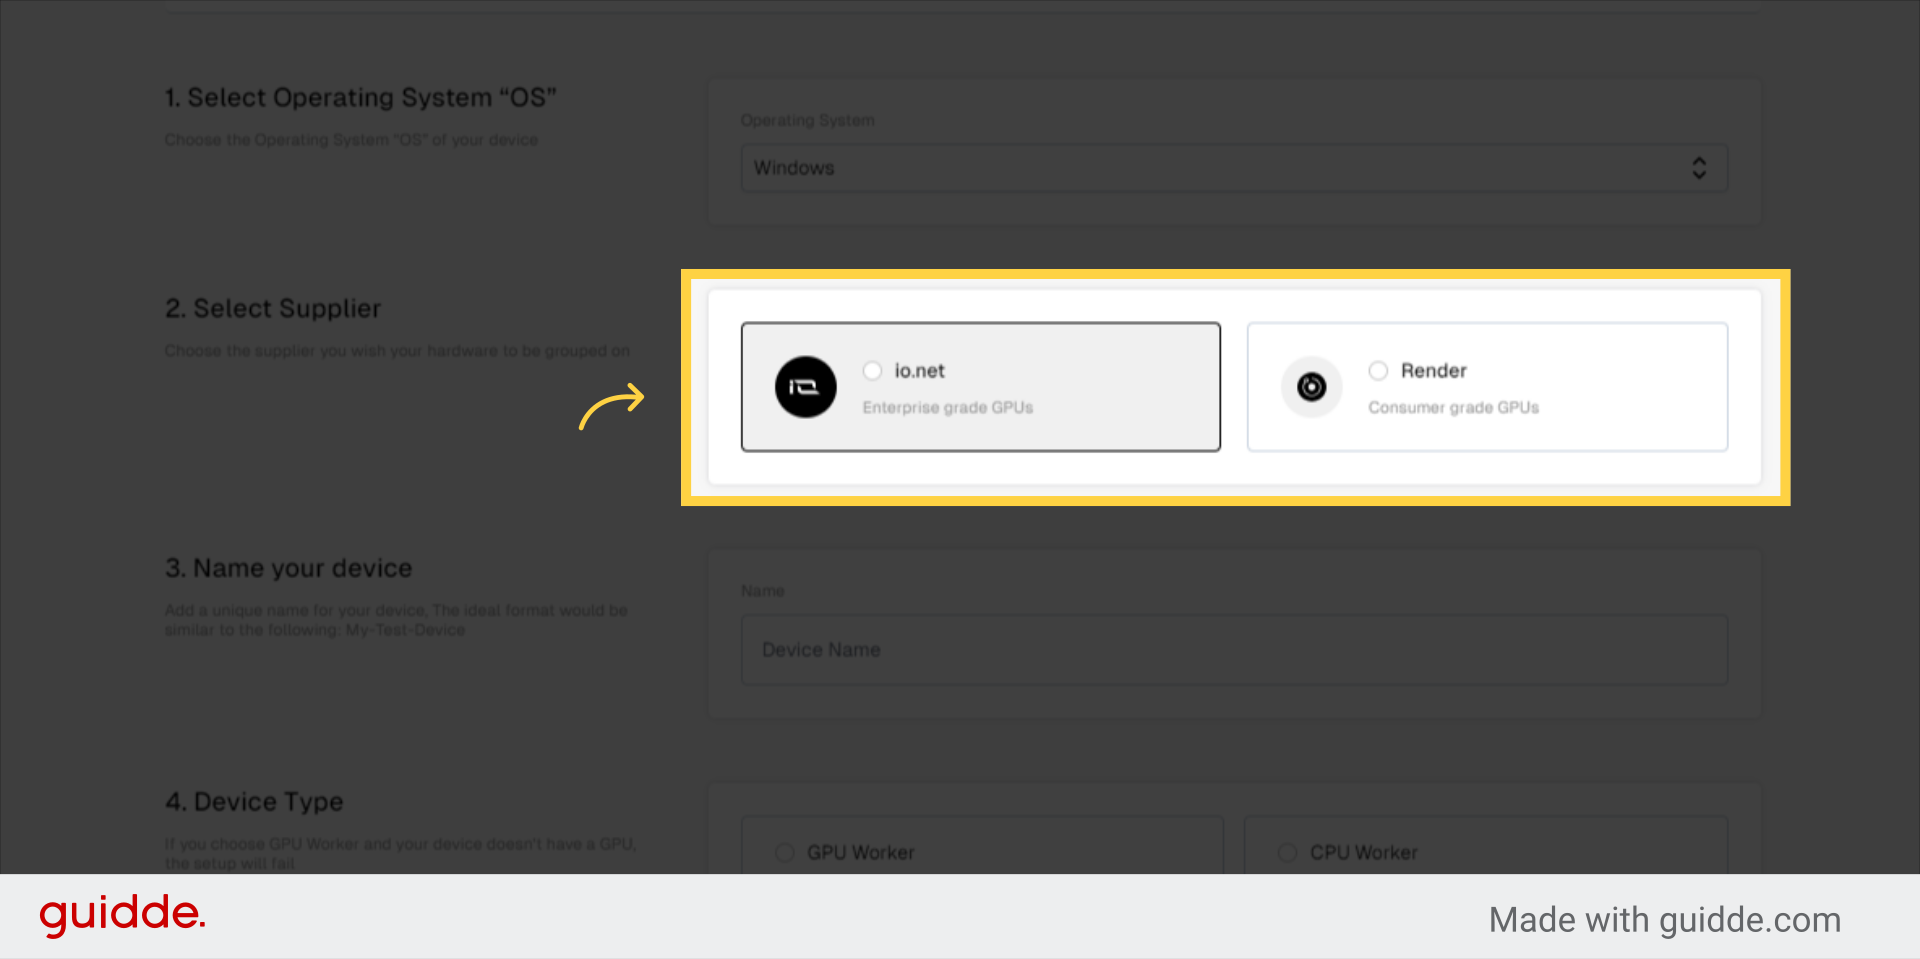
4. Select Supplier
Choose the supplier you wish your hardware to be grouped on
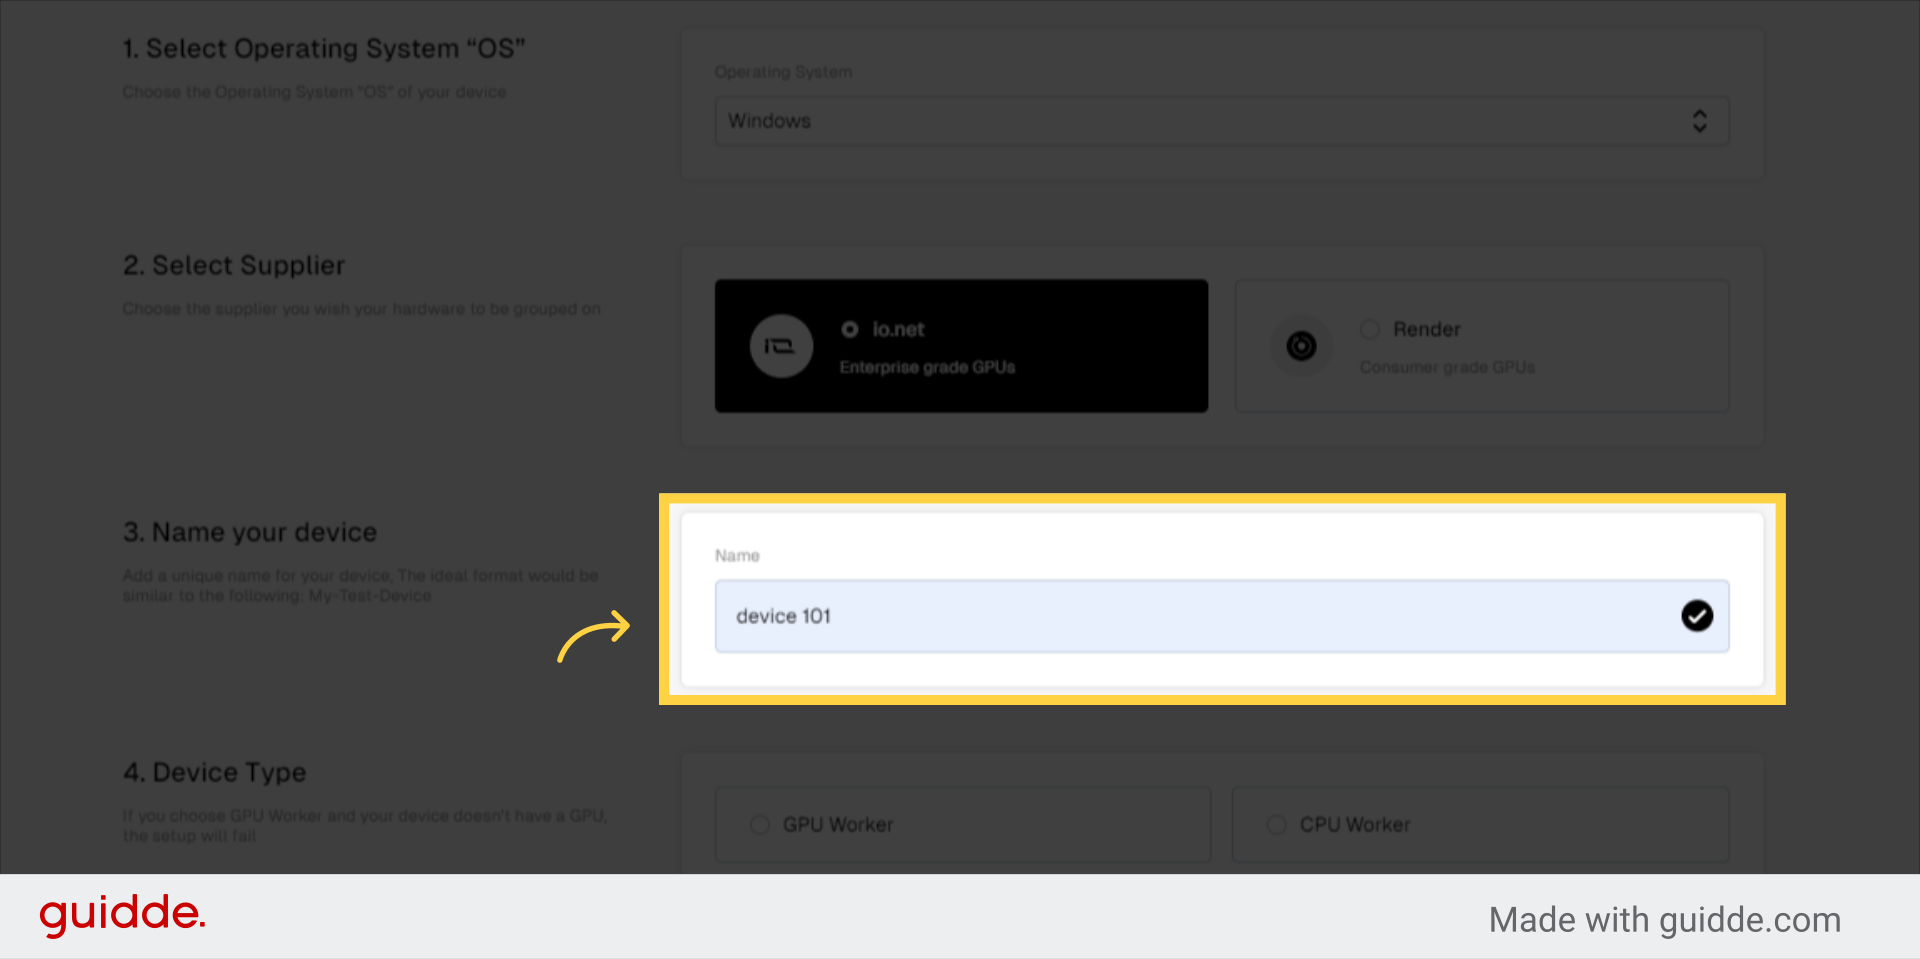
5. Name your device
Add a unique name for your device, The ideal format would be similar to the following: My-Test-Device
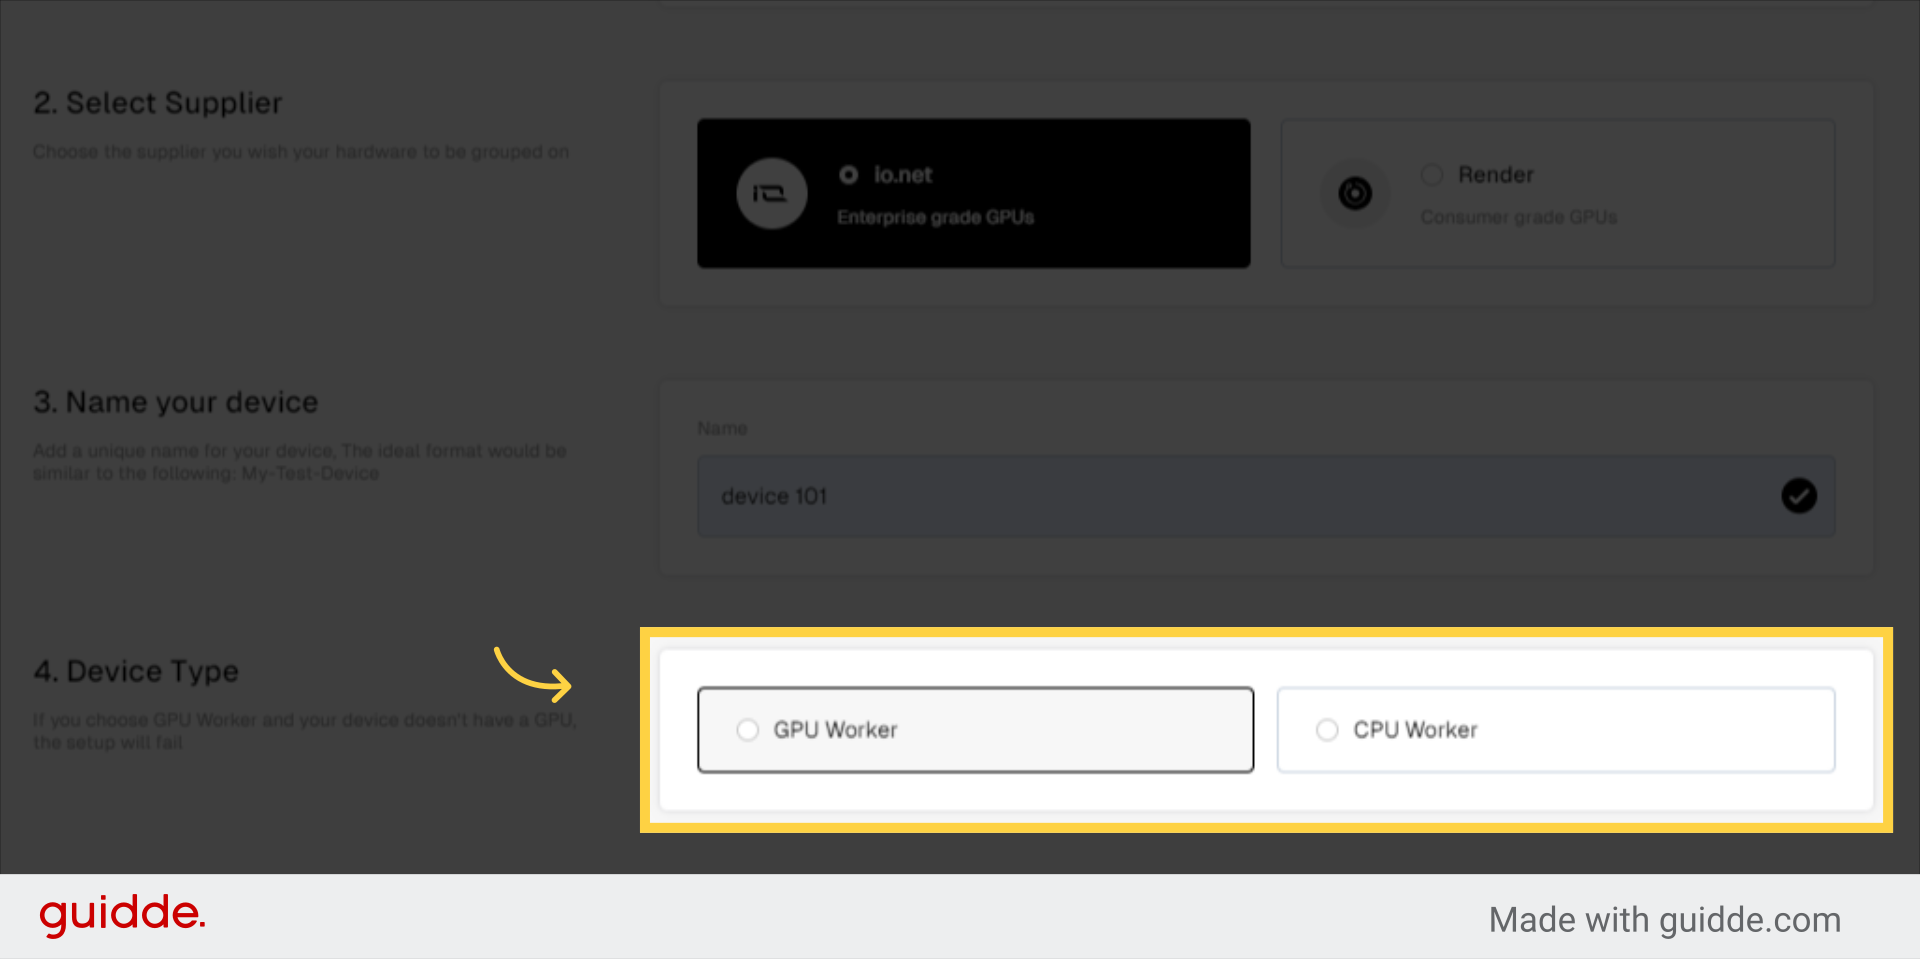
6. Device Type
If you choose GPU Worker and your device doesn't have a GPU, the setup will fail
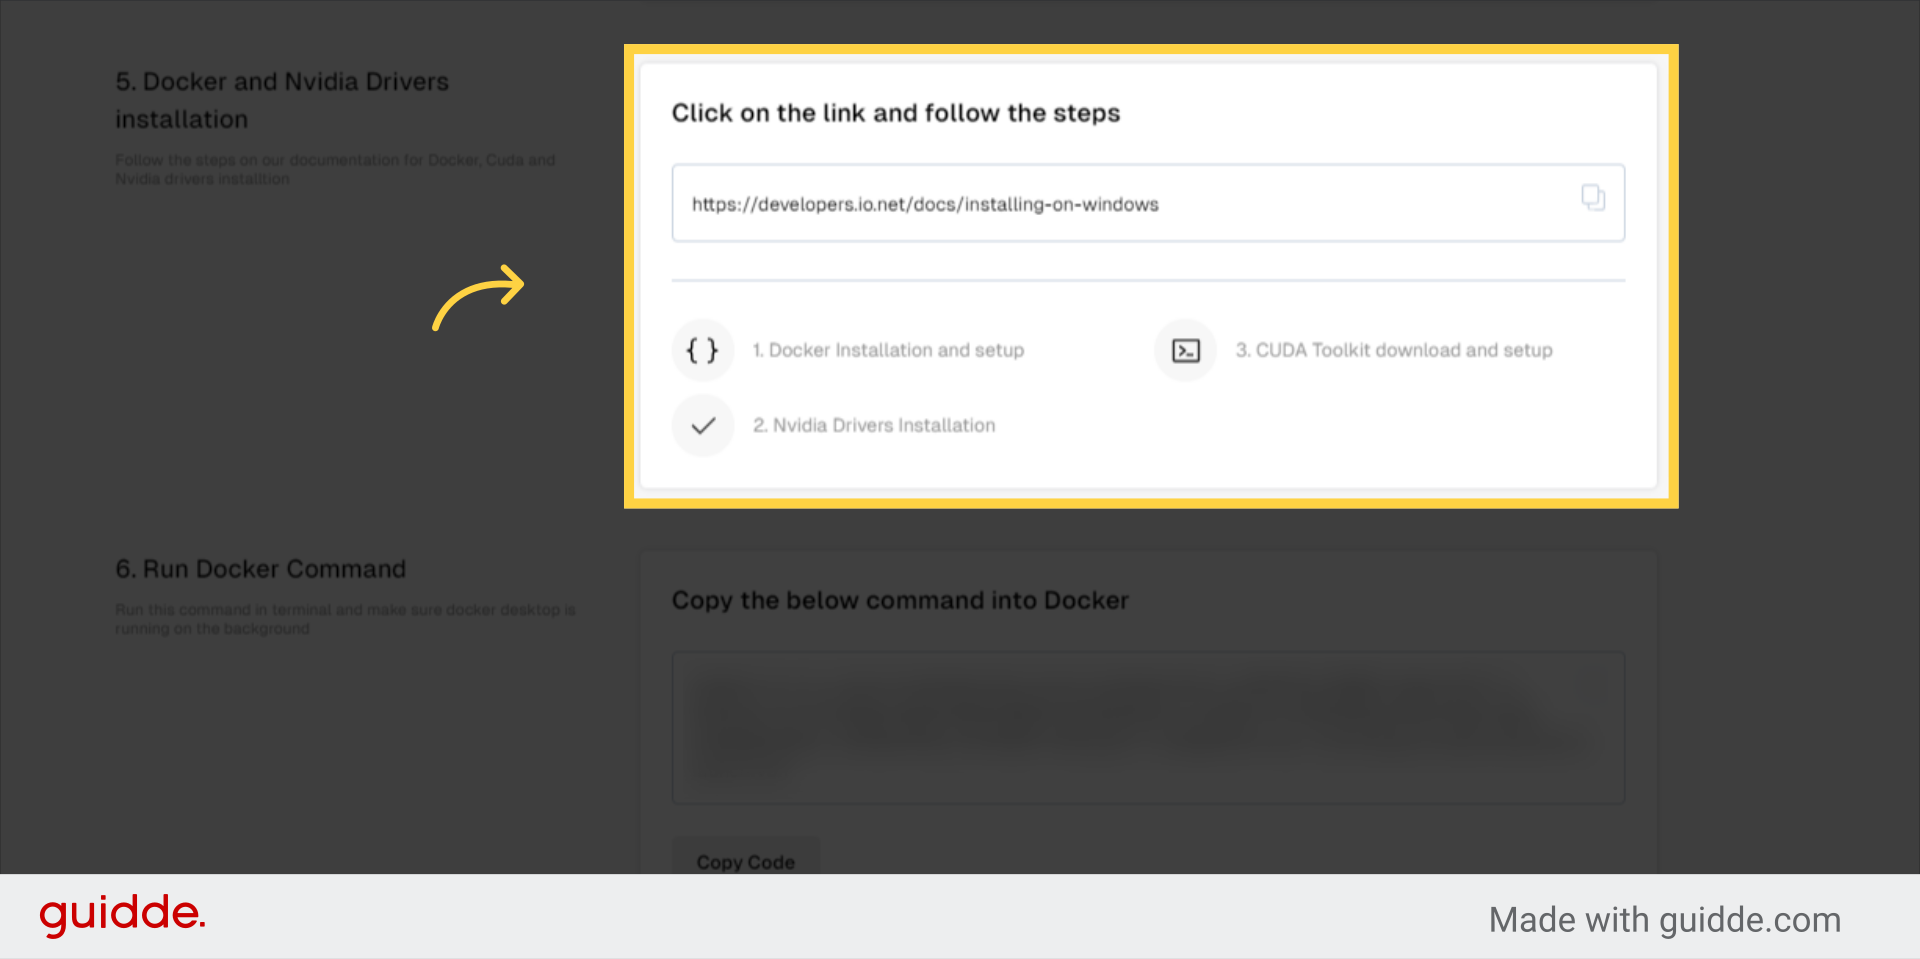
7. copy the link and follow the steps
Follow the steps on our documentation for Docker, Cuda and Nvidia drivers installtion
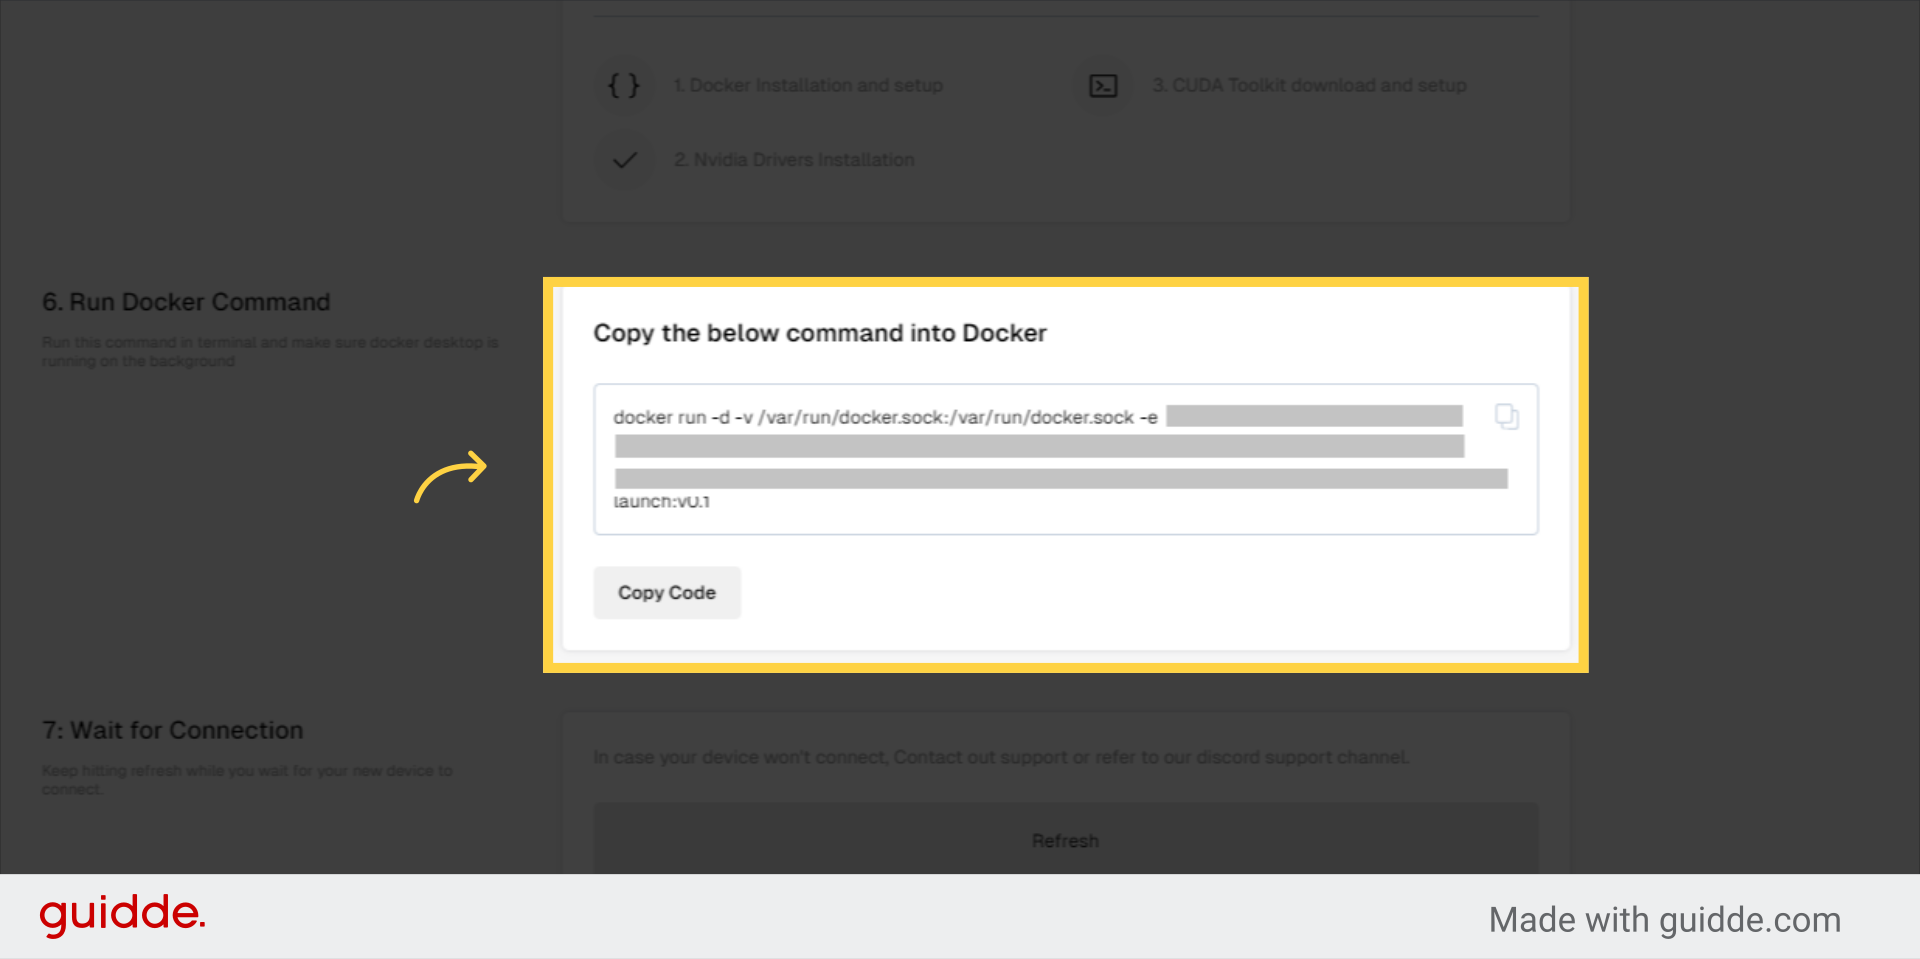
8. Copy the command into Docker and run it
Run this command in terminal and make sure docker desktop is running on the background
9. Wait for Connection
Keep hitting refresh while you wait for your new device to connect.
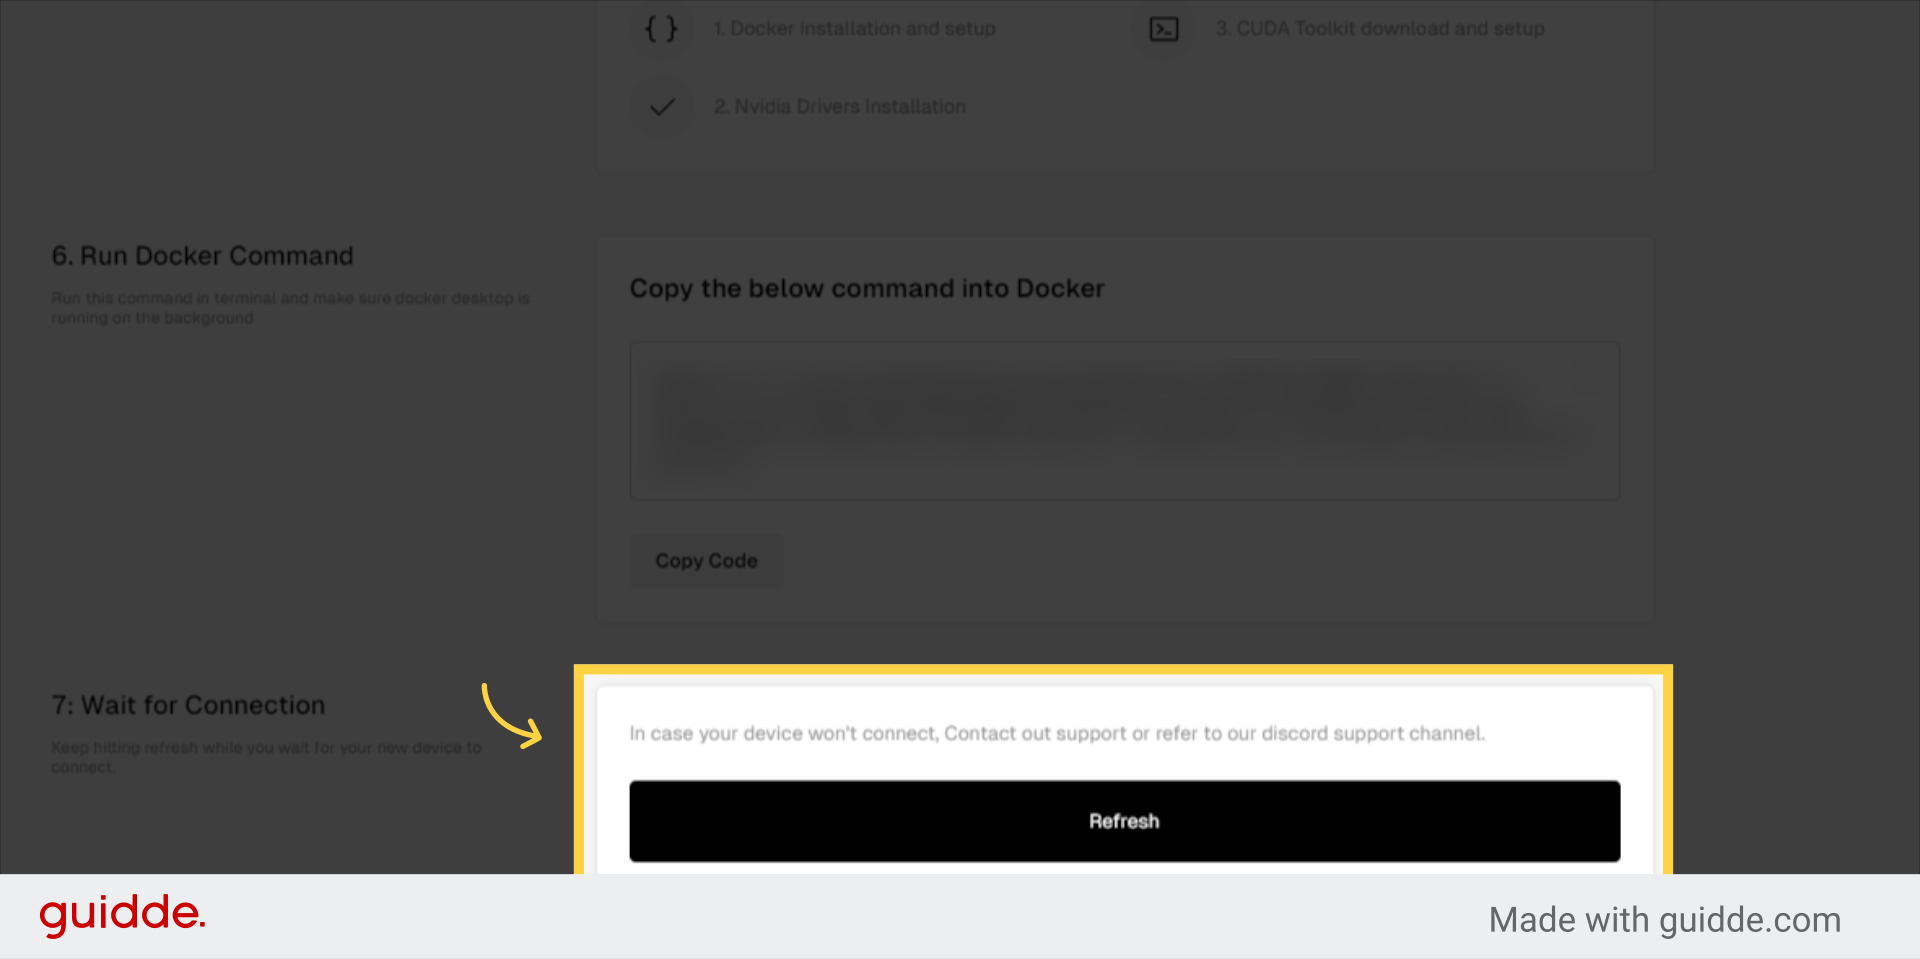
Having issues? Contact Us or refer to our Discord for further assistance. We are here to help!
Be aware that you will be installing a 20GB size container. This contains all the packages needed to serve AI/ML apps. Everything happens inside the container, nothing within the container can access your filesystem.
Updated about 1 month ago